
It’s lunchtime on a SIL shift. Your client takes a bite of their sandwich, goes quiet and grabs at their throat. And just like that, every head in the room turns to you. That’s the exact moment basic emergency life support protocols are built for.
Here’s the thing. Your heart’s thumping and your mind goes blank, like a TV losing signal. That’s normal. It’s also why these protocols exist. They’re simple, ordered steps. They tell you what to check first, what to do next and when to call Triple Zero (000). So when your mind goes blank, your training takes over.
If your employer has asked you to complete HLTAID010, these are the steps you’ll learn and practise on the day. Trouble is, most people have only seen them as a course code in a compliance email. Never explained in plain English.
You’ll also see how First Aid Alive teaches these protocols in HLTAID010 courses in Brisbane, so you know exactly what you’re booking.
Here’s the short version first. The detail for each step follows.
What Are the Basic Emergency Life Support Protocols?
Basic emergency life support protocols are the step-by-step actions first aiders follow to keep someone alive until paramedics arrive. In Australia they follow Australian Resuscitation Council (ANZCOR) guidelines and are taught in HLTAID010. The core protocols are:
- 1. DRSABCD action plan: check for Danger, Response, Send for help, Airway and Breathing, then start CPR and Defibrillation.
- 2. CPR: give 30 chest compressions then 2 rescue breaths, and keep going.
- 3. AED use: turn the defibrillator on as soon as it arrives and follow the voice prompts.
- 4. Recovery position: roll an unconscious person who is breathing onto their side to keep the airway clear.
- 5. Choking: encourage coughing, then give back blows and chest thrusts if coughing does not work.
- 6. Severe bleeding: press firmly and directly on the wound.
- 7. Anaphylaxis and asthma: help the person use their adrenaline autoinjector or reliever puffer, and call Triple Zero (000).
The DRSABCD Action Plan: Your First Steps in Any Emergency
The DRSABCD action plan is the backbone of basic life support steps in Australia. Every one of the basic emergency life support protocols hangs off it. Think of it like a pilot’s pre-flight checklist. You don’t skip a line and you don’t change the order.
It comes straight from the ANZCOR Basic Life Support guideline. Stick with this letter order, it’s what you’ll be assessed on.
D: Danger
Check for hazards to you, bystanders and the casualty. If you get hurt too, there’s two people needing help. In care work, danger looks pretty ordinary:
- A wet bathroom floor
- A hoist that's still moving or not locked off
- Electrical equipment near the person
- An agitated person nearby
R: Response
Talk and touch. Say their name loudly and squeeze their shoulders. No response means you keep moving through the letters.
S: Send for Help
Call Triple Zero (000), put your phone on speaker and ask for an ambulance. From a mobile you can also dial 112.
🟧 On shift: tell your shift lead as well as calling 000. Follow your organisation's emergency procedure.
A: Airway
Open their mouth and check for anything blocking the airway. Then use a head tilt and chin lift to open it up.
B: Breathing
Look, listen and feel for breathing for no more than 10 seconds.
- Breathing normally: put them in the recovery position.
- Not breathing normally, or you're not sure: start CPR.
Here’s the bit that trips people up. Occasional gasping, called agonal breathing, is not normal breathing. If you’re unsure, starting CPR is the right call.
C: CPR
Start chest compressions and rescue breaths. The full steps are in the CPR section below.
D: Defibrillation
Use an AED (a portable defibrillator) as soon as one arrives. That’s covered in the next section too.
If the person isn’t breathing normally, the next two letters take over: C for CPR and D for defibrillation.
CPR and Defibrillation Protocols for Adults
This is the part most people are nervous about. But the steps are simple. It’s the rhythm and the pushing that takes practice.
How to Give CPR: The 30:2 Rhythm
- 1. Place: the heel of your hand on the lower half of the breastbone.
- 2. Put: your other hand on top.
- 3. Push: down about one third of the depth of the chest.
- 4. Keep: a pace of 100 to 120 compressions per minute.
- 5. Give: 30 compressions, then 2 rescue breaths.
- 6. Repeat: 30:2 and keep going.
It’s harder work than it looks, and your arms will feel it quick.
What If I Can’t or Won’t Give Rescue Breaths?
Then just keep doing compressions. Compression-only CPR is acceptable under ANZCOR guidelines. Pushing on the chest is still far better than doing nothing.
Using an AED
An AED is built for everyday people. It talks to you.
- 1. Turn: it on as soon as it arrives.
- 2. Follow: the voice prompts.
- 3. Attach: the pads as shown in the pictures on them.
- 4. Stand: clear when it says it's giving a shock.
- 5. Restart: CPR straight away after the shock.
Don’t know where the nearest one is? The 000 call-taker can help you find a public AED.
Swapping Rescuers
If someone else is there, swap every two minutes. Tired arms give shallow compressions.
Worried About Kneeling for CPR?
Lots of care workers have sore knees or a dodgy back. The practical assessment does include CPR on a manikin on the floor.
🦵 Bad knees or a back injury? Call before you book and we'll talk it through.
For more on the course day, read what to expect at your first BELS course. If your employer only needs CPR, see our CPR course (HLTAID009).
Not every unconscious person needs CPR. If they’re breathing normally, your job is to protect their airway.
The Recovery Position for Someone Unconscious but Breathing
Lying on their back, an unconscious person’s airway can be blocked by their tongue or vomit. Their side keeps it clear.
When to Use It
Use the recovery position when the person is unresponsive but breathing normally. If they’re not breathing normally, go back to CPR.
How to Roll Someone Onto Their Side
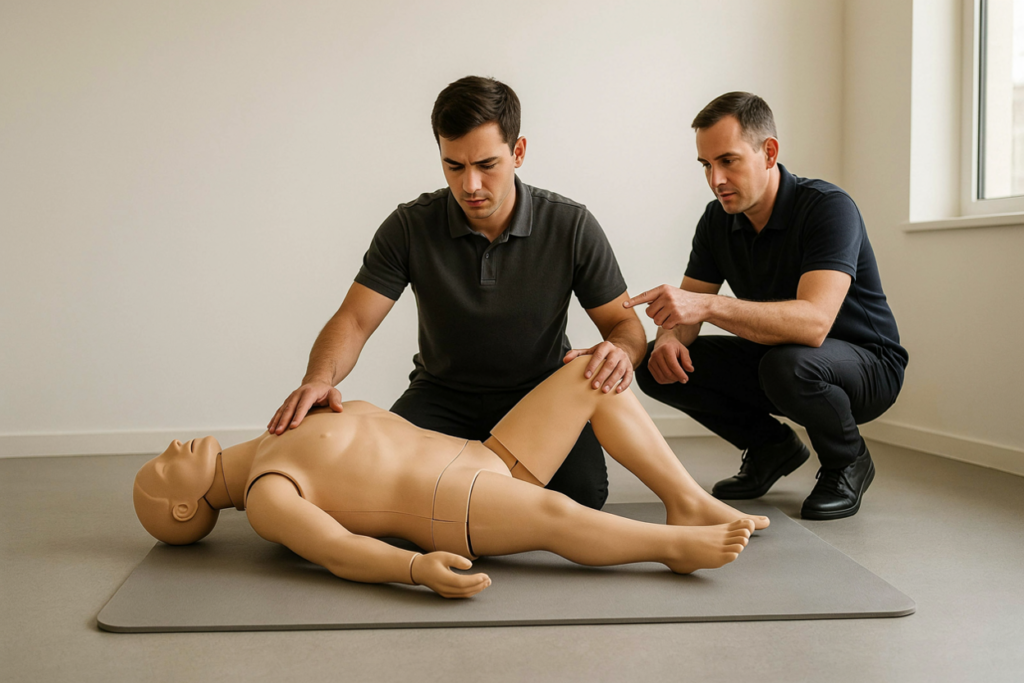
- 1. Kneel beside them and place the arm nearest you out at a right angle to their body.
- 2. Lay their far arm across their chest and bend their far knee up.
- 3. Roll them towards you onto their side, using the bent knee and shoulder.
- 4. Tilt their head back slightly with the face angled down, so fluid can drain.
For clients in a bed, a wheelchair or with a physical disability, the principle stays the same: keep the airway clear.
Keep Checking Their Breathing
Stay with them and keep checking their breathing. If it stops, roll them onto their back and start CPR.
Some emergencies start while the person is still awake. Choking is the one care workers see most often at mealtimes.
Choking Protocols: What to Do When Someone Can’t Breathe
Back to that lunchtime scene from the start. Your client grabs at their throat. What you do next depends on one thing: can they cough?
Effective vs Ineffective Cough
What you see | What it means | What you do |
They can cough, speak or make noise | Air is still getting through | Encourage coughing and stay with them |
They can’t cough, speak or breathe | The airway is blocked | Act straight away |
A strong cough is the body’s own fix. Stay beside them and watch closely, because a cough can weaken fast.
Back Blows and Chest Thrusts
If they can’t cough, speak or breathe:
- 1. Call Triple Zero (000) early, or get someone else to.
- 2. Give up to 5 sharp back blows between the shoulder blades.
- 3. Give up to 5 chest thrusts if it hasn't cleared.
- 4. Keep alternating back blows and chest thrusts until it clears or help arrives.
If They Become Unconscious
- 1. Lay them down carefully.
- 2. Call 000 if nobody has yet.
- 3. Start CPR.
Why the Heimlich Manoeuvre Isn’t Taught in Australia
Most of us grew up seeing it in movies. But ANZCOR recommends back blows and chest thrusts for choking adults, not abdominal thrusts. That’s what you’ll practise in HLTAID010.
A Note for Mealtimes at Work
Clients with swallowing difficulties often have a mealtime management plan. Follow it and your organisation’s procedures. If they do choke, the ANZCOR response stays the same. For more detail, read our step-by-step choking first aid guide.
Falls and sharp edges are the other common risk in care settings, which brings us to bleeding.
Severe Bleeding and Shock
A skin tear on an older client’s arm can bleed a surprising amount. Whatever you’re looking at, the first job is the same: stop the blood getting out.
Stop the Bleeding
- 1. Put on gloves, or use a barrier if you've got one handy.
- 2. Press firmly and directly on the wound.
- 3. Keep the pressure on. Don't keep lifting to check.
- 4. Call Triple Zero (000) if the bleeding is severe.
It’s like putting your thumb over the end of a leaking hose. Let go too soon and it starts again.
For life-threatening limb bleeding, a tourniquet may be used, as taught in training.
Recognising Shock
Shock can follow heavy bleeding. Watch for:
- Pale, cool, clammy skin
- Fast breathing
- Confusion
If you see these signs:
- 1. Lay the person down.
- 2. Keep them warm.
- 3. Call 000.
The last two protocols are about breathing problems caused by a reaction or a medical condition.
Anaphylaxis and Asthma Emergency Protocols
Both of these are breathing emergencies, and both can go downhill quickly.
Recognising Anaphylaxis
Anaphylaxis is a severe allergic reaction. According to ASCIA, key signs include:
- Difficult or noisy breathing
- Swelling of the tongue
- Swelling or tightness in the throat
- Trouble talking or a hoarse voice
- A wheeze or persistent cough
- Persistent dizziness or collapse
Anaphylaxis First Aid
- 1. Lay the person flat. If breathing is hard, let them sit, but never let them stand or walk.
- 2. Give the adrenaline autoinjector into the outer thigh.
- 3. Call Triple Zero (000).
- 4. Follow the person's ASCIA Action Plan.
Asthma First Aid
The National Asthma Council Australia uses a simple 4x4x4 method:
- 1. Sit the person upright.
- 2. Give 4 separate puffs of their reliever puffer through a spacer.
- 3. Wait 4 minutes.
- 4. Repeat if there's no improvement.
Call 000 straight away if there’s no improvement or the attack is severe.
Follow the Client’s Action Plan First
If your client has a written anaphylaxis or asthma action plan, that plan takes priority. Know where it’s kept, and where their medication is kept, before you ever need it.
If you regularly support clients with allergies or asthma, our asthma and anaphylaxis course goes further than HLTAID010.
Reading the steps is a start. Practising them with a trainer is what makes them stick under pressure.
How HLTAID010 Teaches These Protocols in Brisbane
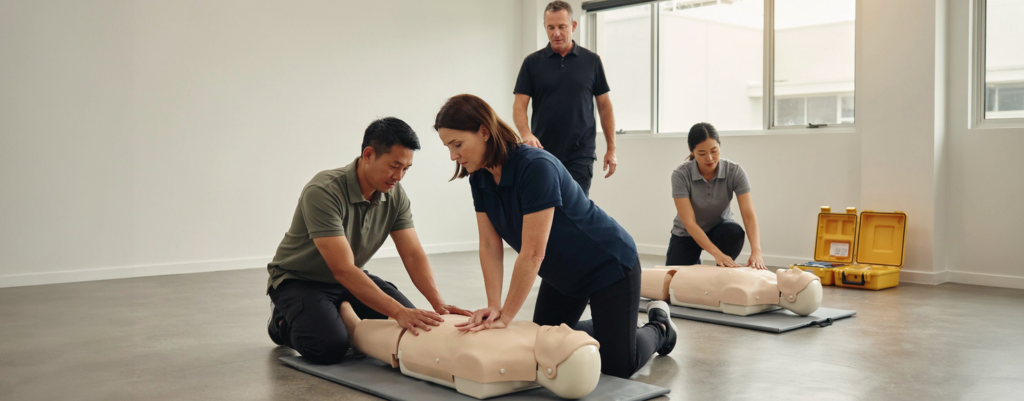
Reading basic emergency life support protocols on your phone is one thing. Doing them on the floor with your heart racing is another. That’s the gap a basic emergency life support course in Brisbane closes.
The unit is HLTAID010 Provide basic emergency life support, delivered by First Aid Alive (RTO 31106).
What You Practise and Get Assessed On
Protocol | What you practise | How it’s assessed |
DRSABCD | Working through each step in order | Scenario response |
CPR | 30:2 compressions and breaths on a manikin | Practical, on the floor |
AED | Following prompts on a training AED | Practical |
Recovery position | Rolling a person onto their side | Practical |
Choking, bleeding, anaphylaxis, asthma | Responding to set scenarios | Scenario response |
Pre-Course Online Learning
There’s online learning to finish before your practical day. Do it on a computer or tablet.
HLTAID010 vs HLTAID011 in One Line
HLTAID011 includes HLTAID010, so a current HLTAID011 may already cover you. Check with your employer. For more, read what basic emergency life support covers and the BELS minimum qualification.
Keeping Your Protocols Current
Many employers expect an annual CPR refresher. Your employer’s policy sets the rule, so check it.
Your Next Steps
First, check your employer’s requirements. Look for the unit code in that compliance email, or ask your coordinator. It saves you paying for the wrong course.
Next, pick a date that fits your roster. Weekend and early morning sessions in Brisbane mean you don’t have to give up a paid shift.
Then finish your online learning before the day, on a computer or tablet, not your phone.
Once that’s sorted, the practical day is the easy part. You practise each protocol with a trainer and walk out knowing what to do.
When you’re ready, you can book it below.
Book HLTAID010 in Brisbane
Book Your First Aid Training Now
Fast, affordable, and nationally accredited training delivered by professionals who care
Basic Emergency Life Support Protocols FAQs
Q.Is DRSABCD the same as basic life support?
DRSABCD is the action plan at the center of basic life support. It sets the order: Danger, Response, Send for help, Airway, Breathing, CPR and Defibrillation. The other protocols build on it.
Q.Do I need HLTAID010 if I already have HLTAID011?
Usually not. HLTAID011 includes HLTAID010, so a current HLTAID011 generally covers it. Check with your employer first, as some name a specific unit code in their policy.
Q.How often do basic life support protocols change?
ANZCOR reviews Australian guidelines regularly and updates them when new evidence comes out. Many employers expect an annual CPR refresher, so check your employer's policy.
Q.Can I do the course if I have bad knees or a back injury?
In most cases, yes. The practical assessment includes CPR on a manikin on the floor, so give us a call before booking to talk through your options.
Q.Is the Heimlich maneuver still used in Australia?
No. ANZCOR recommends back blows followed by chest thrusts for a choking adult, not abdominal thrusts. That's the method taught in HLTAID010.
Q.Is compression-only CPR okay if I don't want to give breaths?
Yes. If you can't or won't give rescue breaths, ANZCOR says to keep giving continuous chest compressions. It's far better than doing nothing.
Making first aid training more affordable for
every classroom
We believe every student deserves access to life-saving first aid knowledge. That’s why we offer specially reduced pricing for schools and educational groups. Whether you’re booking for a single class, a year group, or your entire school, our flexible packages make training more accessible and cost-effective — without compromising quality.
