
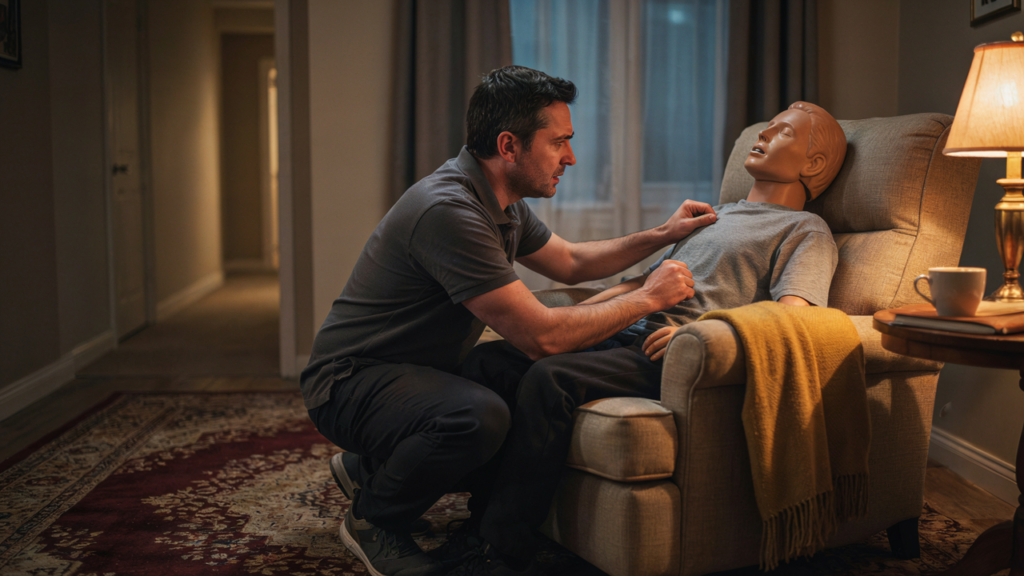
It’s 2am on a supported independent living (SIL) overnight. The house is quiet, and you’re halfway through your shift notes when you hear a thud from the lounge room. Your client’s slumped sideways in his recliner. You say his name. Nothing. Your heart’s pounding like a drum and your mind just goes blank.
That exact moment is what basic emergency life support casualty assessment is built for.
DRSABCD gives you a fixed order to follow, so you don’t have to think about what comes next. You don’t need to feel calm. You don’t need to be a nurse. You just need to know the next letter. Check for danger. Check for a response. Call for help. Then work through airway, breathing, CPR and defibrillation, one step at a time.
It’s the core of HLTAID010 Provide Basic Emergency Life Support, the course a lot of NDIS and aged care providers across Brisbane ask their staff to hold. It’s also what your trainer’s going to watch you do in the practical assessment. So getting your head around it now pays off twice.
In this guide, you’ll learn what to look for at each DRSABCD step, how to adapt when a client’s in bed, in a wheelchair or on the floor, and what to expect on assessment day. Everything follows current ANZCOR (Australian and New Zealand Committee on Resuscitation) guidelines, in plain English.
How Do You Assess a Casualty Using DRSABCD?
To assess a casualty using DRSABCD, work through seven checks in order, following the ANZCOR Basic Life Support flowchart. Each step tells you whether it’s safe to help, how serious the situation is and what to do next.
- 1. Danger: Check for hazards to you, bystanders and the casualty before you approach.
- 2. Response: Talk and touch. Speak loudly and squeeze their shoulders. If there's no response, treat them as unresponsive.
- 3. Send for help: Call Triple Zero (000), or 112 from a mobile.
- 4. Airway: Open the airway. If there's foreign material in the mouth, roll them onto their side and clear it.
- 5. Breathing: Look, listen and feel for normal breathing for no more than 10 seconds.
- 6. CPR: If they're not breathing normally, start 30 compressions and 2 breaths.
- 7. Defibrillation: Attach an AED (automated external defibrillator) as soon as one is available and follow its prompts.
🟠 In this guide: What casualty assessment means · DRSABCD step by step · Care settings · Normal breathing vs gasping · After your assessment · How you're assessed · Book your course
Knowing the seven steps is a good start. Knowing why each one matters is what keeps you calm on the day.
What Basic Emergency Life Support Casualty Assessment Means
Assessment comes before treatment
Casualty assessment is just a fancy way of saying “work out what’s wrong and what to do first.” Are they responsive? Is the airway clear? Are they breathing normally? DRSABCD gets you there in the right order, without skipping anything when you’re rattled.
Basic emergency life support (BELS) is the nationally recognised training that teaches you to recognise an emergency, do CPR and use an AED until help arrives.
Where DRSABCD comes from
DRSABCD isn’t something a training company made up. It comes straight from the ANZCOR Basic Life Support flowchart (Guideline 8), used across nationally recognised first aid training in Australia.
DRSABCD vs the older DRABC
If you did first aid years ago, you might remember DRABC. It left out Send for help and Defibrillation, and had you checking for a pulse. That version’s out of date for everyday first aiders now. No pulse check, and calling for help and grabbing an AED early are in the sequence for good reason.
Here’s what you’re actually looking for at each stage.
DRSABCD Step by Step: What You’re Checking at Each Stage
Every step is a little question you’re answering in your head. Here’s what you check, what you’re deciding and the mistake people make most.
D: Danger
Check: Hazards to you, anyone nearby and the casualty. Deciding: Is it safe for me to go in? Common mistake: Rushing in. Care-setting dangers aren’t always obvious: wet bathroom floors, a hoist mid-lift, electrical equipment, someone who’s agitated or aggressive. Take one breath and look first.
R: Response
Check: Whether the person reacts to your voice and touch. Deciding: Are they conscious? Common mistake: Shaking them. ANZCOR uses “talk and touch”. Speak loudly and squeeze their shoulders. Some people remember COWS: Can you hear me? Open your eyes. What’s your name? Squeeze my hand. It’s just a memory aid, not a test.
🟠 ANZCOR says: talk and touch, don't shake. A firm squeeze and a loud voice is all you need.
S: Send for help
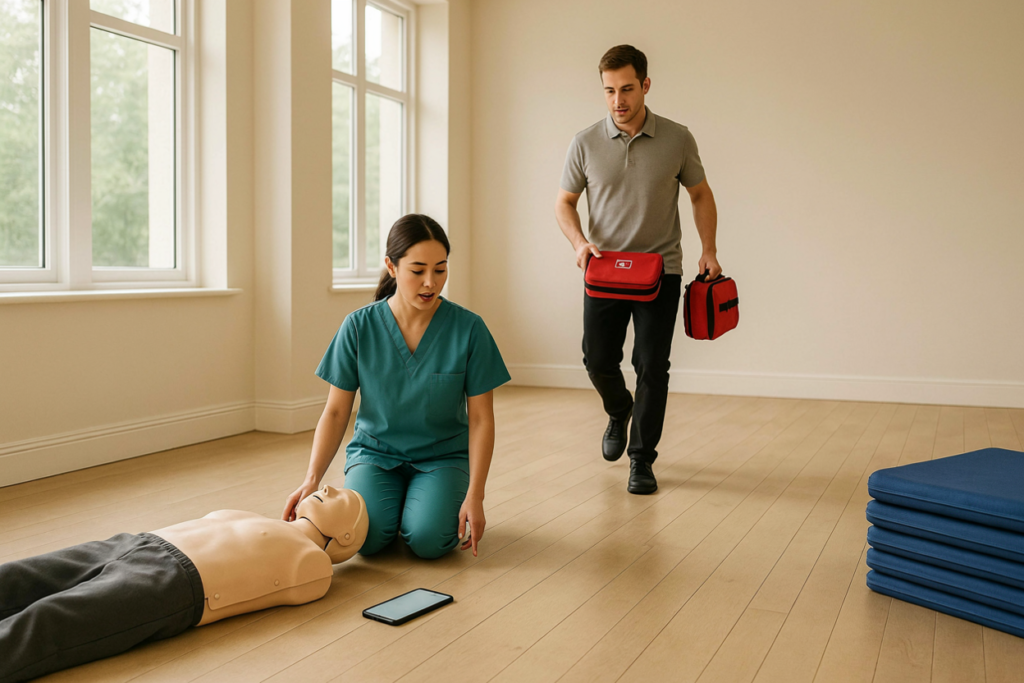
Check: Who’s around and where the nearest AED is. Deciding: Who calls 000, and who fetches the AED? Common mistake: Waiting to “see if they come round”. Call Triple Zero (000), or 112 from a mobile, straight away. With another worker on shift, one calls and one grabs the AED. On your own? Put the phone on speaker. The operator will talk you through it.
A: Airway
Check: The mouth, for anything blocking it. Deciding: Is anything blocking the airway? Common mistake: Leaving them on their back with vomit or food in the mouth. This comes up a lot at meal times. Roll them onto their side, clear it, then open the airway with a head tilt and chin lift (ANZCOR Guideline 4).
B: Breathing
Check: Look, listen and feel for normal breathing, for no more than 10 seconds. Deciding: Is breathing normal? Common mistake: Mistaking gasping for breathing. It’s so important it gets its own section below.
C: CPR
Check: That they’re unresponsive and not breathing normally. Deciding: Do I start compressions? Common mistake: Holding back because you’re scared of hurting them. Start 30 compressions and 2 breaths. Push on the lower half of the breastbone, about one third of the chest depth, at 100 to 120 compressions a minute (ANZCOR Guideline 6).
🟠 The AED talks you through it. Turn it on and it tells you what to do, out loud, step by step.
D: Defibrillation
Check: Whether there’s an AED nearby and whether it’s on.
Deciding: Is there an AED and is it on?
Common mistake: Believing you need special training. You don’t. Attach it as soon as it arrives, follow the prompts and keep CPR going in between.
Those seven steps are the same everywhere. What changes is where your client is when things go wrong.
Casualty Assessment in Disability and Aged Care Settings
Real life on shift isn’t a textbook. Nobody expects you to be a nurse here. You just need to know how DRSABCD bends to fit the room you’re in.
When a client collapses in bed
CPR needs a firm surface. A soft mattress soaks up compressions like a sponge. If it’s safe and you’ve got help, move them to the floor. Don’t try a solo lift that leaves two people needing help instead of one. Follow your manual handling policy, and if you can’t move them safely, start CPR where they are.
When a client is in a wheelchair or recliner
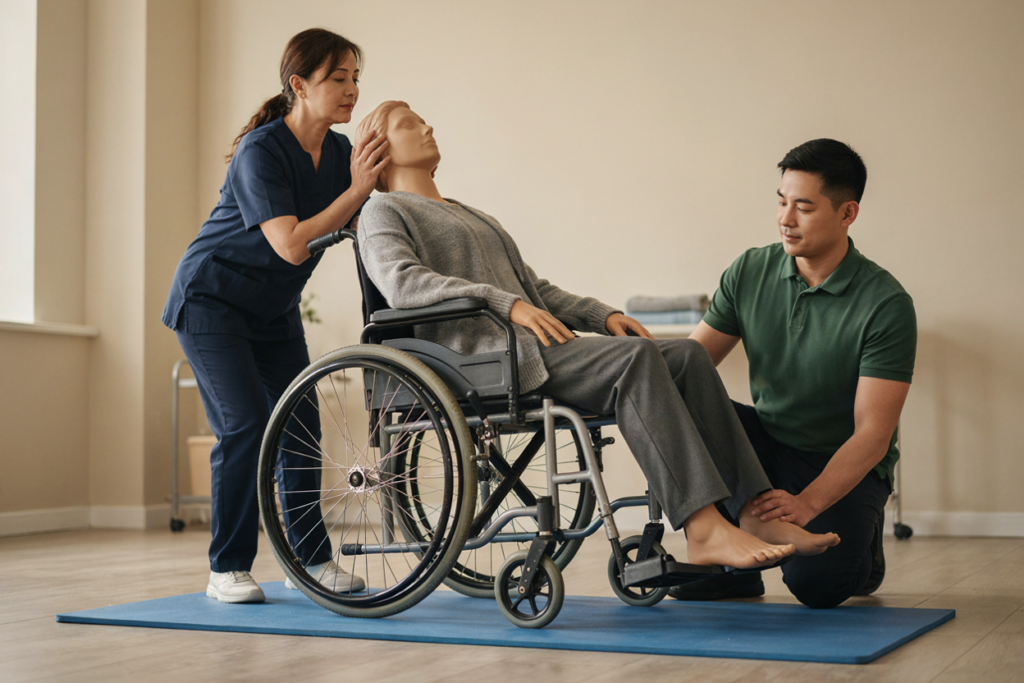
Brakes on first. Then get help to lower them to the floor, gently and in a controlled way. Once they’re flat, check the airway again, because things can shift.
Clients who don’t communicate verbally
Some clients won’t answer “can you hear me?” on a good day. That’s where their support plan pays off. What’s their usual baseline? Do they turn to your voice, grip your hand, make a sound? If those usual reactions aren’t there, that’s your red flag.
Dentures, medical alerts and support plans
Only take out dentures if they’re loose and blocking the airway. Look for medical alert bracelets or necklaces, and tell paramedics about known conditions from the support plan.
Advance Health Directives and NFR orders
Some clients have an Advance Health Directive (AHD) or a Not For Resuscitation (NFR) order. Don’t work this out on the spot at 2am. Know where the paperwork lives and follow your employer’s policy. We’re not giving legal advice here. For background, see Queensland Health’s advance care planning page.
🟠 Check with your employer. Ask your supervisor where the documents are kept and what you're expected to do, before you ever need it.
Wherever your client is, one check decides whether you start CPR: breathing.
Normal Breathing vs Gasping: The Check That Matters Most
To check if someone is breathing normally, look for their chest rising and falling, listen for breath sounds and feel for air on your cheek, for no more than 10 seconds. Normal breathing is regular and even. Slow, noisy gasps are not normal breathing, so start CPR.
What normal breathing looks like
Regular, even rises of the chest and soft breath sounds, with a steady rhythm (ANZCOR Guideline 5).
What gasping (agonal breathing) looks like
This is the one that fools people. Agonal breathing is slow, irregular and noisy, like a big snore or a gulp for air. Your gut says “oh good, they’re breathing.” They’re not. Not properly. Start CPR.
If you’re unsure, start CPR
ANZCOR is clear: if someone is unresponsive and not breathing normally, start CPR. If you honestly can’t tell, treat it as not normal. Being unsure and starting beats being unsure and waiting.
If they are breathing normally
Roll them into the recovery position (ANZCOR Guideline 3) and keep watching their breathing. Be ready to roll them back and start CPR.
What would you do?
▶️ Your client is making slow, noisy gasps. Tap to reveal: That’s not normal breathing. Start CPR.
▶️ Your client won’t respond, but their chest rises and falls evenly. Tap to reveal: That’s normal breathing. Call 000, use the recovery position and keep watching.
▶️ You’ve looked, listened and felt, and still can’t tell. Tap to reveal: Treat it as not normal. Start CPR.
Your job doesn’t end the moment paramedics walk in.
After Your Assessment: Handover and Incident Reporting
Keep checking until help arrives
Keep going until the person responds or starts breathing normally, the AED tells you to stop, or paramedics take over.
What to tell paramedics
No fancy handover lingo needed. Just tell them:
- 1. What happened
- 2. When you found them
- 3. What you did
- 4. Any known conditions from their support plan
Reporting to your provider
Tell your supervisor and fill in your incident report while it’s fresh. Your provider then reports it. For NDIS providers that’s the NDIS Quality and Safeguards Commission for reportable incidents. For aged care, it’s the Serious Incident Response Scheme (SIRS) through the Aged Care Quality and Safety Commission.
Looking after yourself afterwards
It’s normal to feel shaken. Shaky hands, replaying it at night, all normal. Ask for a debrief and use your Employee Assistance Program (EAP) if your employer has one. You looked after your client. Now let someone look after you.
Every step in this guide is something you’ll practise, and be assessed on, in your HLTAID010 course.
How Casualty Assessment Is Tested in Your HLTAID010 Course
What your trainer watches for
Your trainer runs a pretend emergency. Nobody’s trying to trip you up. They want to see you:
- Follow DRSABCD in order during a simulated incident
- Do CPR on adult and infant manikins
- Use an AED
- Roll someone into the recovery position
Doing CPR on the floor with sore knees
Floor CPR is part of the assessment, so it can’t be skipped. But if years of care work have left you with dodgy knees, you’re not the first. Talk to the team beforehand. Mats or knee pads help a lot.
Finishing your pre-course online learning
Do it on a computer or tablet, not your phone the night before. Get it done early.
Getting your certificate the same day
Pass, and your certificate is emailed the same day, ready to upload before your next client shift.
If your BELS is due soon, the next step is finding a session that fits your roster.
Book Your HLTAID010 Course with First Aid Alive in Brisbane
First Aid Alive (RTO 31106) runs nationally accredited HLTAID010 courses across Brisbane. You’ll practise every step in this guide with a real trainer and walk out knowing what to do if a client collapses on your shift.
Your roster changes every week, so there are weekend and early dates to work around your shifts. Our venues have free parking, so no circling the block. And your certificate is emailed the same day you pass.
Already hold a current HLTAID011? It already includes HLTAID010, so you might not need this course. Check with your employer before you book. If your new role needs the full course, look at HLTAID011 Provide First Aid instead.
Still not sure which one’s right for you? That’s normal, the codes are confusing. Give us a call and we’ll help you check. Booking for a whole support team? We run group sessions for NDIS and aged care providers too.
Book Your First Aid Training Now
Fast, affordable, and nationally accredited training delivered by professionals who care
FAQs
Q.Is DRSABCD the same as a primary survey?
Pretty much, yes. DRSABCD is the basic life support flowchart used in Australian first aid training, and it's how you do your first check of a casualty in basic emergency life support. More advanced first aid courses add extra checks once any threat to life has been managed.
Q.Do I check for a pulse in basic emergency life support?
No. Under ANZCOR guidelines, first aiders don't check for a pulse. If the person is unresponsive and not breathing normally, start CPR straight away and attach an AED as soon as one arrives.
Q.What if I can't move my client to the floor for CPR?
CPR works best on a firm surface, so move them to the floor if you can do it safely with help. If you can't, don't delay. Start CPR where they are and follow your employer's manual handling policy.
Q.Can I hurt someone by doing CPR when they don't need it?
ANZCOR notes that chest compressions rarely cause serious harm to someone who isn't in cardiac arrest. The risk of not starting CPR on someone who needs it is far bigger, so if you're unsure, start CPR.
Q.Does HLTAID010 cover casualty assessment for children and infants?
Yes. DRSABCD works for casualties of all ages, and HLTAID010 includes CPR practice on adult and infant manikins. Your trainer will show you how the technique changes for infants and children.
Q.How long does an HLTAID010 certificate last?
Safe Work Australia's first aid Code of Practice recommends updating CPR skills every 12 months and renewing first aid qualifications every three years. Many NDIS and aged care providers set their own rules, so check your employer's policy.
Making first aid training more affordable for
every classroom
We believe every student deserves access to life-saving first aid knowledge. That’s why we offer specially reduced pricing for schools and educational groups. Whether you’re booking for a single class, a year group, or your entire school, our flexible packages make training more accessible and cost-effective — without compromising quality.
