
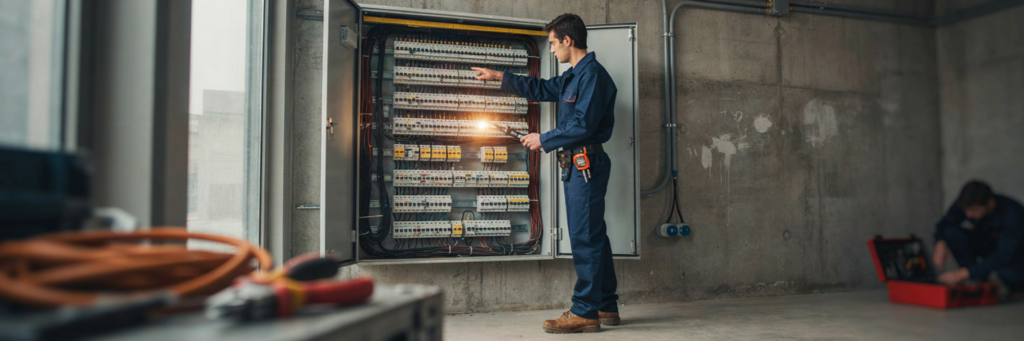
You’ve heard it a hundred times on site. “Confirm your point of isolation before you touch that board.” Someone says it at toolbox talk, it’s written on the permit, your supervisor barks it before you crack a panel open. But has anyone actually sat down and explained what it means? Properly, not just the two-second version.
Most blokes on the tools pick this stuff up by osmosis. You watch what the senior sparkie does, you copy it, you never really ask why. That works fine until the day it doesn’t, and then you’re the one standing in front of an Electrical Safety Office investigator trying to explain your process.
The point of isolation training electrical basics starts with one simple idea. The point of isolation is the actual switch, breaker, or disconnect device where the circuit gets cut off from power, before anyone puts a hand near it. Not somewhere near it. Not “probably safe.” The exact device, identified, isolated, locked, tagged, and tested.
This gets you across what it means, how you find it and test it, and why it sits underneath everything in AS/NZS 4836 and the Electrical Safety Act 2002 (Qld). Read this before you even think about which isolation course to book, because knowing the theory first makes the practical make a lot more sense.
Quick Answer: What Is the Point of Isolation?
The point of isolation is the specific switch, breaker, or disconnect device where a circuit gets safely cut off from its power source, before any work starts. It has to be identified, isolated, locked, tagged, and tested to prove it’s dead. That’s the first move, every time, before any live or low voltage electrical work happens.
Steps to establish a safe point of isolation:
- Identify the correct isolation point, the switch, breaker, or disconnect that actually controls the circuit
- Isolate it by switching off or physically removing the source of supply
- Lock and tag the isolation point so nobody can re-energise it while you're working
- Test to prove the circuit is dead before you touch anything
- Check there's no backup or alternative energy source still feeding it
That five-step sequence sounds simple written down. On a real Brisbane site, with three switchboards, a generator out back, and someone’s solar inverter feeding in from the roof, it gets a lot less simple. That’s what the rest of this covers.
⚡ Quick tip: If you can't physically point at the device that's isolating your circuit, you haven't found the point of isolation yet, you've found something near it.
What Does “Point of Isolation” Actually Mean?
The Technical Definition
Right, so here’s the bit most training glosses over. A “point of isolation” isn’t a general area or a vague zone of safety. It’s one single, identifiable device. A switch you can point at with your finger and say “that one, right there.” AS/NZS 4836 talks about it in terms of a device that’s capable of disconnecting the circuit from every source of electrical supply, and staying disconnected while work’s going on.
That last part matters more than people think. It’s not enough to switch something off. It has to stay off, on its own, without you needing to stand there holding it or hoping nobody bumps it. That’s why the device itself needs to be lockable and visible, not just “off” in a switchboard somewhere that three other tradies also have keys to.
Why It’s Called a “Point,” Not Just “Isolation”
Isolation, as a word, is broad. It’s the whole idea of making something safe to work on. The “point” is what narrows it down to something you can actually verify. Safe Work Australia‘s Code of Practice for Managing Electrical Risks leans on this distinction too. Isolation is the process, the point of isolation is the physical, testable location where that process actually happens.
This is where a lot of confusion starts on site. Blokes say “it’s isolated” when what they mean is “the area feels safe.” But isolated only means something if there’s one specific, verified point doing the disconnecting. Otherwise you’re just guessing with extra steps.
Get this bit clear early and everything downstream, locating it, locking it, testing it, makes a lot more sense.
How to Identify the Point of Isolation
Main Switchboards and Distribution Boards
Most of the time, this is where you’ll start. The main switchboard’s the obvious candidate, but “obvious” doesn’t mean “correct.” On a decent-sized commercial site you might have a main board, then two or three distribution boards feeding different areas, and the circuit you’re actually working on could be controlled three boards deep from where you’re standing.
Common mistake, isolating at the nearest board because it’s convenient, without tracing the circuit back to confirm that board actually controls the supply. It might just be downstream of the real isolation point, still live from somewhere else entirely.
Circuit Breakers vs. Fused Disconnects
Not every isolation point looks the same. Sometimes it’s a circuit breaker you flick off. Sometimes it’s a fused disconnect where you’re physically pulling the fuse or the switch handle. Older sites especially, you’ll find a real mix, and the two aren’t interchangeable in how you verify them. A breaker in the off position still needs testing. A pulled fuse still needs the socket checked too, because fuse carriers get miswired more often than people expect.
Multiple or Backup Energy Sources
This is the one that catches people out. Generators, UPS systems, solar inverters, any site with backup power has more than one possible source feeding a circuit. MEA Australia’s guidance flags this specifically because backup sources don’t always show up on the switchboard the way you’d expect. You isolate the main supply, feel confident, and there’s still a solar inverter quietly backfeeding into the same circuit from the roof.
The habit that saves you here is simple. Don’t assume “one switch equals fully isolated.” Trace it. Ask what else could be feeding this circuit before you call it safe. On any site with solar, generators, or UPS gear, that question isn’t optional.
🔒 Quick tip: Switched off is not the same as dead. Test the circuit yourself, every single time, no matter how confident you are.
The Isolation Process: Lock, Tag, Test
Locking and Tagging the Isolation Point
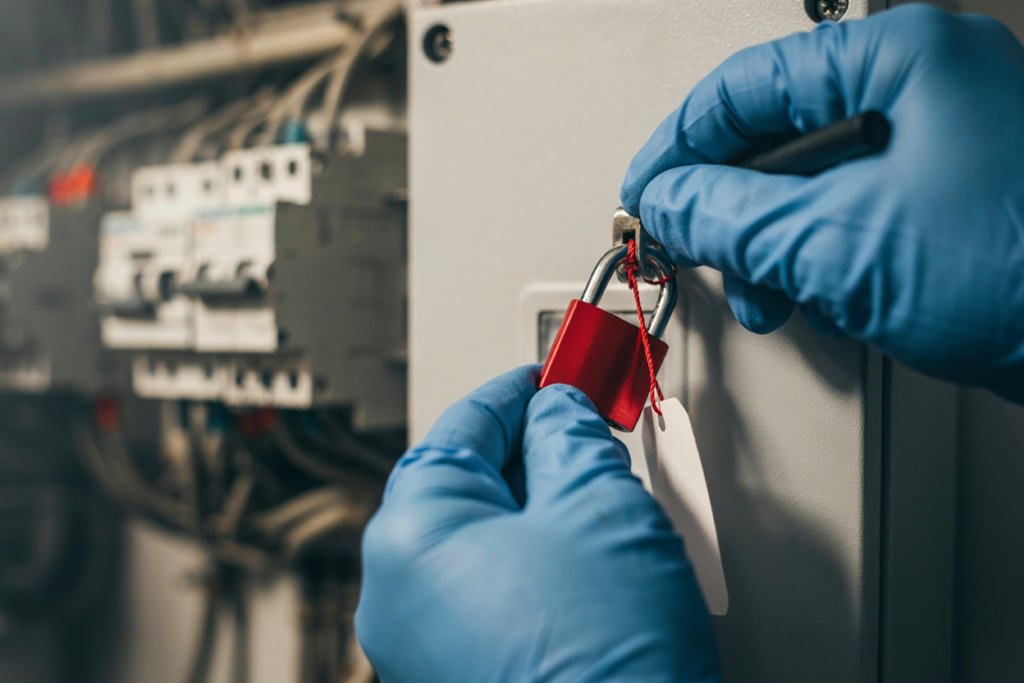
Once you’ve found the actual point of isolation, switching it off is only step one. The next move is locking it out, physically, so nobody can re-energise it while you’re mid-job. This isn’t about trusting your mates to leave it alone. It’s about removing the possibility altogether, because someone always eventually walks past a board and flicks something back on without checking, usually in a hurry, usually not thinking about who’s underneath it.
The tag goes on with the lock, not instead of it. Name, date, reason for isolation, contact details. A lock with no tag tells nobody anything if something goes wrong and you’re not around to explain it.
Proving the Circuit Is Dead
Here’s the step people skip more than any other, and it’s the one that actually matters most. Switched off isn’t the same as dead. You test. Every time, no exceptions, even if you isolated it yourself two minutes ago and you’re confident nothing’s changed.
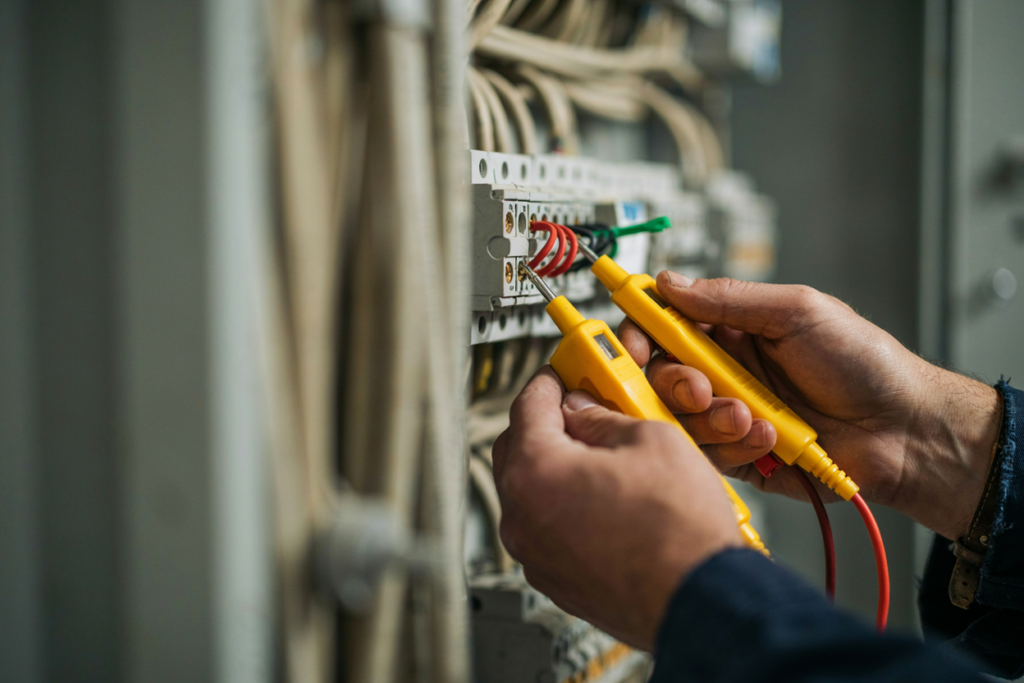
Testing means using a proving unit or an approved tester on the point of isolation itself, checking your tester works before and after the test, and confirming zero voltage across every conductor, not just the ones you expect to be live. Skipping this step because “I just switched it off” is how people get hurt on jobs that looked routine right up until they weren’t.
Who’s authorised matters here too. Not everyone on site is qualified to isolate or to test, and that’s not red tape for the sake of it. It’s because getting this step wrong has no small version of getting it wrong.
Documenting the Isolation
Last piece, and it’s the one that feels like paperwork but isn’t really. The WHS Regulations 2011 require documented isolation for a reason. If something goes sideways, or if a second person needs to work on the same circuit later, the permit-to-work paperwork is what tells them what’s already been done and by who.
A completed isolation record isn’t just a compliance box. It’s the thing that stops the next person from having to start the whole process from scratch, or worse, assuming it’s already safe when it isn’t.
Lock it, tag it, test it, document it. Skip any one of those four and you haven’t actually isolated anything, you’ve just switched something off and hoped.
Point of Isolation vs. Low Voltage Rescue: Where They Connect
Two Separate Skills, Often Confused
These two get lumped together a lot, and it’s worth being straight about why they’re not the same thing. Point of isolation is about making a circuit safe before anyone touches it. Low voltage rescue is about what happens if isolation didn’t happen, or happened wrong, or someone’s in contact with a live conductor right now and needs to be got clear of it safely.
One’s prevention. The other’s what you do when prevention’s already failed. Different skill, different training, different mindset going in.
Why UETDRRF018 Assumes Isolation Knowledge
Here’s the bit that trips people up when they’re choosing a course. UETDRRF018, the LV rescue ticket, isn’t designed to teach you isolation from scratch. It assumes you already understand it, because rescue technique builds on top of that knowledge rather than replacing it. You can’t safely approach a rescue situation if you don’t already understand what isolating the area actually means and looks like.
This is exactly why the two courses are structured separately rather than as one combined session. Isolation is the foundation. LV rescue sits on top of it.
If you’re not sure which one you actually need, or whether you need both, that’s a conversation worth having before you book rather than after. First Aid Alive runs isolation training that covers this ground properly, and if you’re isolation-certified already and it’s the rescue ticket you’re short on, the Low Voltage Rescue course is the next logical step.
🚧 Quick tip: No clean single isolation point? Stop and escalate rather than isolate as best you can and hope for the best.
When a Clean Point of Isolation Isn’t Possible
Multi-Source and Interconnected Systems
Not every job gives you a tidy, single, easy-to-find isolation point. Bigger commercial and industrial sites especially, you’ll run into circuits fed from more than one source, systems that overlap with someone else’s work area, or boards where isolating your circuit means partially affecting something you don’t control. That’s when the standard five-step sequence stops being a straightforward tick-box exercise and starts needing actual judgement.
Risk Assessment for Non-Standard Isolation
When a clean single point isn’t there, the answer isn’t to isolate as best you can and hope. It’s to stop and do a proper risk assessment before touching anything. That might mean involving a supervisor, or on larger sites, someone holding a higher isolation authorisation than you do. Think of it like a tiered structure, where more complex or higher-risk isolations need sign-off from someone with a broader scope of authority than a standard isolation.
Whatever the outcome, it needs to be documented, with the reasoning written down, not just assumed and carried in someone’s head. If an audit or an incident review happens later, “I figured it’d be fine” isn’t a position anyone wants to be defending.
The honest truth is complex isolation situations are exactly where corners get cut, because they’re inconvenient and slow the job down. That’s also exactly why they’re where the risk sits highest. Slowing down here isn’t wasted time. It’s the job.
Why Getting This Right Matters On-Site
Electrical Safety Act 2002 (Qld) and Site Induction
This isn’t just theory for the sake of theory. The Electrical Safety Act 2002 (Qld) sets out what’s expected here, and it’s not optional guidance you can skim past. Most Brisbane and South East Queensland sites build this straight into their induction process now, meaning your understanding of isolation gets checked before you’re even allowed to start work, not after something’s gone wrong.
Head contractors talk to each other. A reputation for cutting corners on isolation doesn’t stay contained to one site.
What Happens If It’s Done Wrong
Getting isolation wrong isn’t a paperwork slip-up. It’s the difference between a job that goes fine and someone getting seriously hurt, or worse. WorkSafe QLD and the Electrical Safety Office take this seriously precisely because the gap between “did it properly” and “didn’t” often only shows up the moment something goes wrong, and by then it’s too late to fix it.
There’s also the practical side that hits closer to home for most tradies. Get flagged for a bad isolation practice on-site, and you’re not just looking at a conversation with a supervisor. You’re looking at your access getting pulled, an audit trail with your name on it, and a head contractor thinking twice before bringing you back for the next job.
Knowing this stuff properly, not just well enough to get through an induction quiz, is what keeps you working and keeps you safe while you’re doing it.
Conclusion
None of this is complicated once you actually sit down and go through it properly. The point of isolation isn’t some vague concept floating around a switchboard. It’s one specific device, one you can point to, lock, tag, and test, every single time before anyone puts a hand near live equipment. That’s the whole idea, stripped back to what it actually is.
Where people get caught out isn’t usually a knowledge gap. It’s a habit. It’s the bloke who’s isolated a hundred boards without incident and starts trusting the routine more than the process. Nothing goes wrong for years, right up until the one day it does, and by then the checklist you skipped is the thing everyone’s asking about.
Tracing the circuit properly, checking for backup sources, locking and tagging instead of just switching off, testing before touching anything, none of these steps take long. What they cost you is a few extra minutes. What skipping them costs you is not something you want to find out the hard way.
Complex sites make this harder, not easier. Multiple sources, shared boards, systems that aren’t yours alone to isolate. That’s exactly when slowing down and getting proper sign-off matters most, even though it’s also exactly when people are most tempted to rush.
Isolation and rescue training aren’t the same thing, and they’re not interchangeable either. One’s about stopping something bad from happening in the first place. The other’s about what you do if it already has. Understanding where one ends and the other starts is worth getting straight before you book anything.
Get the basics right here and everything downstream gets easier, passing inductions, keeping head contractors happy, staying on-site without a hitch, and more importantly, going home in one piece at the end of the day. That’s really what all of this comes back to.
Book Your First Aid Training Now
Fast, affordable, and nationally accredited training delivered by professionals who care
Frequently Asked Questions
Q.What is the point of isolation in electrical work?
The point of isolation is the specific switch, breaker, or disconnect device where a circuit is safely disconnected from its power source before work begins. It has to be identified, locked, tagged, and tested to prove it's dead before anyone touches the circuit.
Q.How do I identify the correct point of isolation?
Trace the circuit back to the device that actually controls its supply rather than assuming the nearest switch or board is correct. On sites with multiple boards or backup power sources like solar or generators, this often means checking further than the first switch you find.
Q.What's the difference between isolation and low voltage rescue?
Isolation is about making a circuit safe before work starts, while low voltage rescue is about safely responding if isolation didn't happen or someone's already in contact with a live conductor. They're separate skills, and LV rescue training assumes you already understand isolation.
Q.Why do I need to test a circuit if I already switched it off?
Switching something off doesn't guarantee it's dead, since backup sources, miswiring, or human error can all leave a circuit live even when it looks isolated. Testing with an approved tester is the only way to confirm zero voltage before you touch anything.
Q.Who is allowed to isolate and test a circuit?
Not everyone on-site is authorized to isolate or test, and this depends on training, licensing, and the site's own permit-to-work system. Check your site induction requirements or ask your supervisor if you're unsure whether you're authorized for a specific isolation task.
Q.What happens if isolation is done incorrectly?
Getting isolation wrong can result in serious injury, and on a compliance level, it can mean losing site access, triggering an audit, or damaging trust with a head contractor. The Electrical Safety Act 2002 (Qld) and WorkSafe QLD treat isolation failures seriously because the consequences can be severe.
Making first aid training more affordable for
every classroom
We believe every student deserves access to life-saving first aid knowledge. That’s why we offer specially reduced pricing for schools and educational groups. Whether you’re booking for a single class, a year group, or your entire school, our flexible packages make training more accessible and cost-effective — without compromising quality.
